
Private Contacts
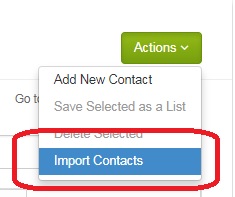
Every account with access to Target will come with the ability for users to add their own private contact data for use in conjunction with what they already receive from Agility’s Global Media Database. Contacts can either be added on a one-off basis or they can be imported en mass via the “Import Contacts” function found in the Action menu in both the Targeted List and Private Contacts areas under Manage.
- Regarding Private Data and Best Practices
- Adding a Private Contact
- Importing A List Of Private Contacts
Regarding Private Data and Best Practices
Existing files of contact data that users have that they wish to import may need to be updated and modified to work in Agility. Aside from updating to the .CSV & .SCSV file types referenced in the import process step, below are additional considerations users should take into account with respects to the actual data for their contacts.
- A contact’s first and last name, as well as an email are the only required data fields; Agility uses these fields to match to our database records if possible. If you have no data for these fields, even a place holder, the entry in question will fail to import.
- Phone and FAX number fields should be formatted as text fields prior to upload in order to avoid any formatting errors that may occur due to variations in number spacing and format.
- To streamline the import process, it’s recommended to make sure all lists are in the same format and have the same number of columns. This will allow you to assign columns once and then apply the selections to the other sheets.
- Imports can take some time depending on how many lists are being processed at once. Agility will allow the user to continue working while items are being imported behind the scenes.
- Agility will send a detailed email notifying you of the status of your import by file and any issues with the contacts (succeeded, failed, partial failure due to lack of data, etc.)
Regarding the usage of role addresses for contacts
A “role email address” is one which represent either a group of people within a company or the entire organization itself and are generally designed with a specific function in mind. For instance, an address for jobs@domain.com would serve the purpose of catching all emails regarding interest in active employment opportunities and direct them to an appropriate team or department within that company. In some instances role addresses can notify multiple people at once, and the person(s) in charge of monitoring these email accounts can change unexpectedly.
Examples of role addresses include:
- abuse@
- admin@
- billing@
- info@
- jobs@
- marketing@
- postmaster@
- sales@
- support@
Can I send to role addresses in Agility?
In order to protect the reputations of our clients as senders of emails, we can no longer allow the practice of sending to role addresses. When someone signs up to receive emails at a role address they are also signing up everyone else with access to that address, which can lead to problems such as higher chances of your messages being marked as spam and unsubscribes from future correspondences. Just because one person under the role address has given permission to receive messages does not mean everyone else under the email account did as well.
Overall, role addresses are not good email contacts. The people in charge of those accounts can change at any time, they generate more spam complaints, and they can even cause an IP address or sending domain to be blacklisted.
Role addresses are generally listed on public-facing web pages, which can make them very susceptible to harvesting bots (special software used by spammers that search the Internet for email addresses). This also means that contact lists from certain services can also run the risk of including a high percentage of role addresses in them.
For more regarding the best ways to utilize aspects of the Agility platform, check out the Best Practices support page.
Adding a Private Contact
The Action menu under Private Contacts will first give you the option to add a new contact as a one-off. You’ll be presented with a page requesting you to enter in their first and last name as well as their associated email address.
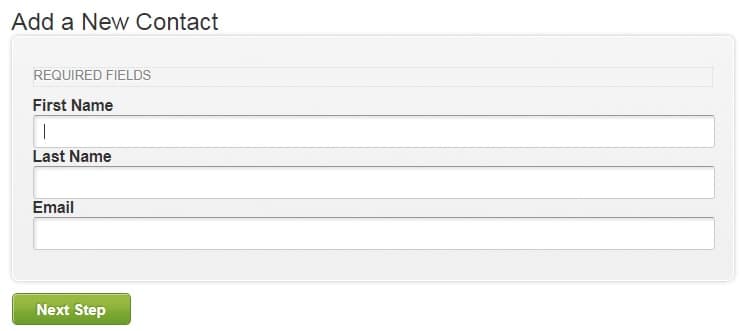
Clicking “Next Step” will then perform a check with the existing contact data Agility has in the database in an attempt and verify if the contact may already be present.
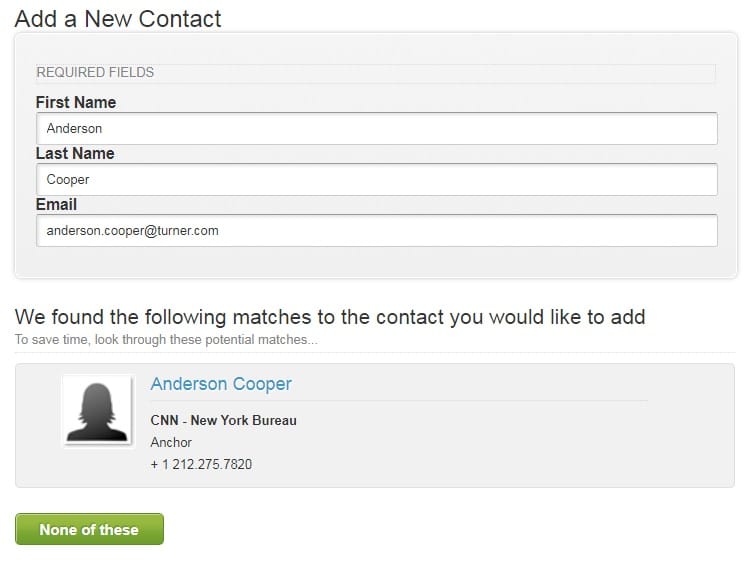
If a match is found you’ll be presented with the option to use one of the found contact listings as a potential match, or you can opt to select “None of these” and create your own private contact record for them. Agility will then give you additional fields of information for you to consider filling in. It will also attempt to find and match any social media information for them as well.
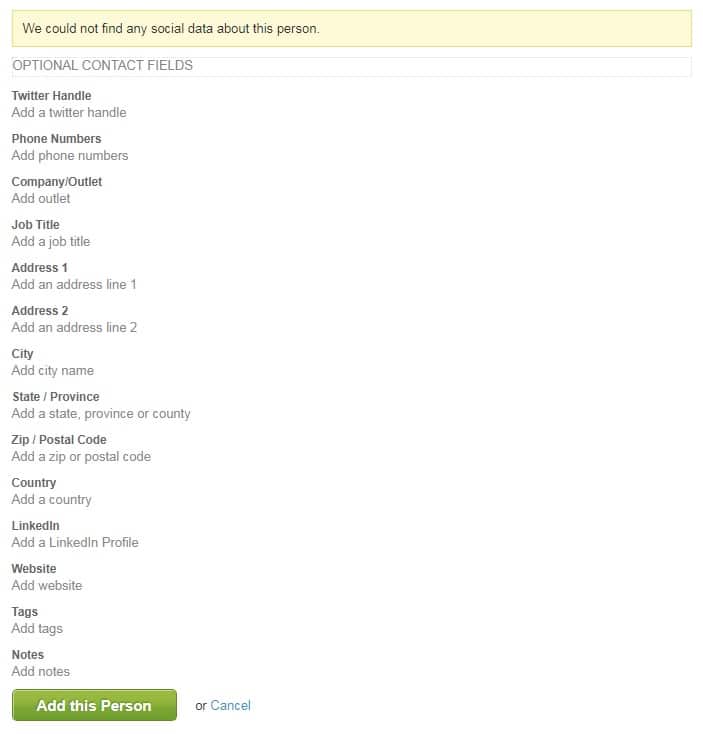
Once you click on the “Add this Person” button to complete the process the entry will become immediately available to work with in your Private Contacts area. There are however some limitations that are summarized below in the Best Practices section of this page.
Importing A List Of Private Contacts
Agility’s import tool makes it easy to work with lists created outside of the platform, whether you have been maintaining them yourself outside the system or you are moving them from a different service.
A few important notes about the process first:
- .CSV & .SCSV file types are supported because they are operating system-agnostic, meaning it doesn’t matter if you’re on Mac or Windows, or you use Office products or other similar applications.
- Up to 20 lists can be imported at one time, no matter the file size or number of contacts (processing times will vary)
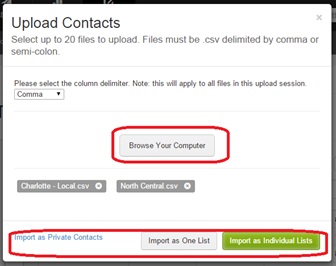
- When selecting files, you’ll also have the option to maintain individual lists, combine all your lists into one, or import your entries as just private contacts only.
The import process:
- Find the Import List option by navigating to Manage => Private Contacts and clicking on the green Actions
- In the pop up window that appears, browse your computer for your list files to upload, and then select whether to import them as a single list, multiple lists, or solely as private contacts entries only, which skips over the process of trying to match your data with existing records in the Agility’s global media database.
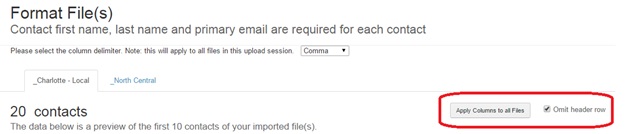
- The window will preview the first 10 rows of each file you are importing, use the drop down menus to select and match the appropriate field of data for each column you are looking to import. NOTE: While there are many data fields available, Agility may not have an applicable option for each data set. Some options may also require the data to be formatted in a particular or consistent manner as well for successfully import the data as well.

- The top of the import page will be tabbed for each individual list you are looking to import with an option on the right side to apply your column selections to all files being imported. Otherwise you can select the columns to import for each file individually if you so choose. NOTE: The tool does NOT do this automatically simply because of the sheer number of columns supported for upload.
- Once your columns have been set the bottom of the page will have a field you can edit that will send an email confirming the import process has been completed, the green button to its right will initiate the process.

For additional Agility support, please contact us.
